Starting a Campaign
Perhaps the most exciting part of email marketing... Sending an actual campaign to real life people (and then watching the results roll in)!
Before you can create a campaign you need to have some subscribers to send to. Once you have added some subscribers, lets start adding a campaign...
Step 1:
Before you begin, you must make sure you are logged in to the SEMSblast control panel. If you don't already have an account you can create a free account.
Step 2:
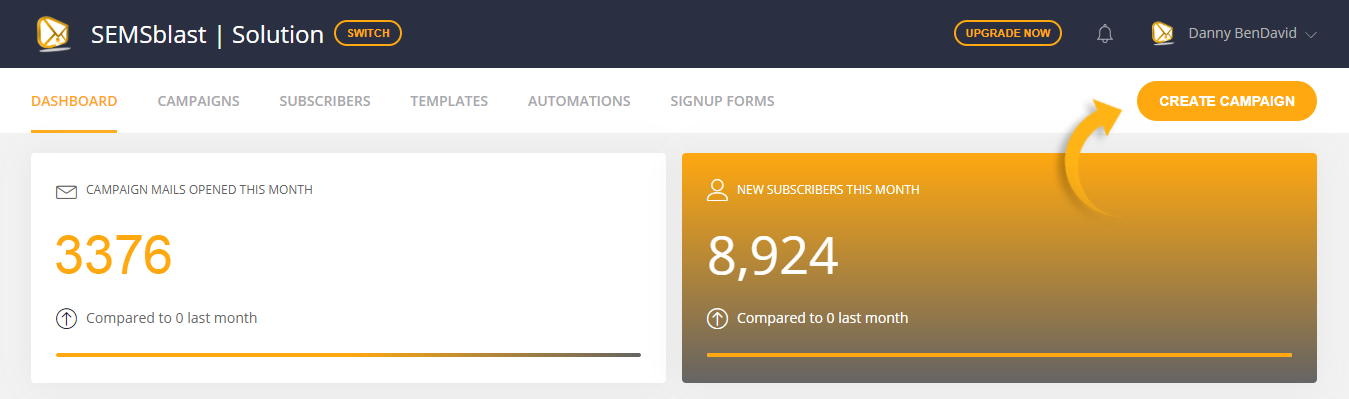
Once logged in to the SEMSblast control panel, click the "CREATE CAMPAIGN " button at the top of the screen.
Step 3:
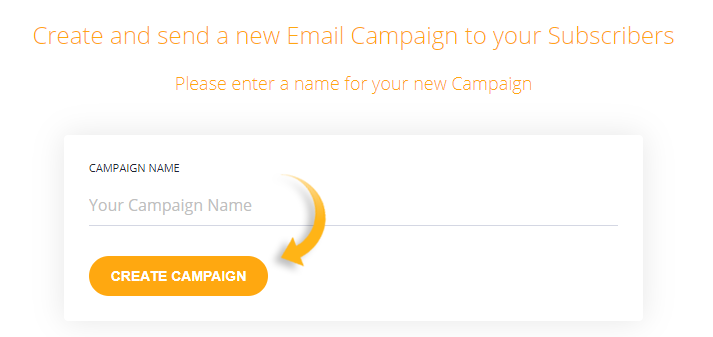
Now give your campaign a name. This is for your reference only so just give it a name that identifies it to you. Once done click the CREATE CAMPAIGN button to continue...
Step 4:
Now choose the groups OR segments that you would like to receive your email. You can actually select multiple groups and segments here.
If there are duplicate subscribers across groups and segments we will only send one email to them. We will also not send to anyone who has unsubscribed, hard bounced or is on your blacklist.
You can even select groups and segments that you DON'T want to be included. So for example you could send to a group, but select to not send to your hotmail segment. This would then remove any hotmail addresses from the groups you have selected to send to. Pretty neat eh!
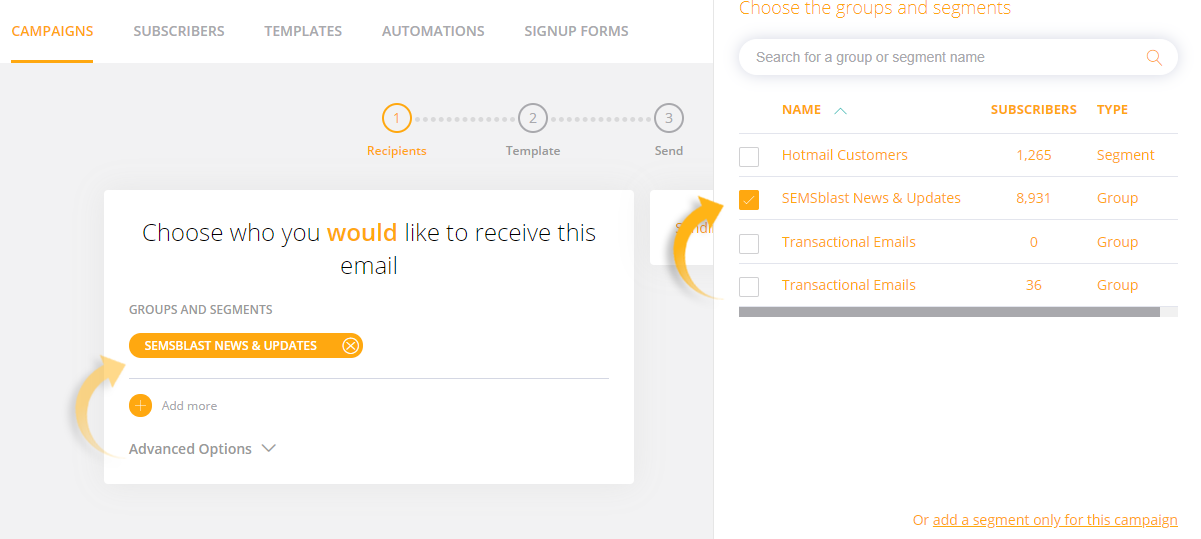
When you are finished adding groups and/or segments, click the "Next Step" button towards the bottom of the page.
Step 5:
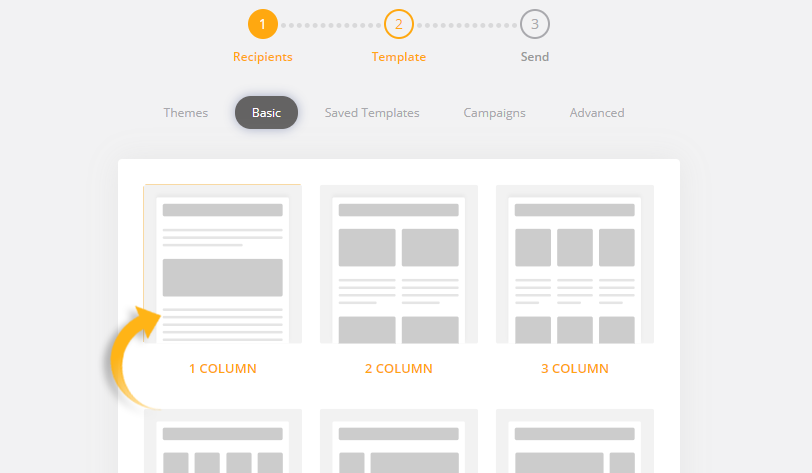
Select an email template to send. You can create a new template from scratch, select a pre-made theme from the Theme Marketplace, select a template from your saved themes, or select a template you sent via an older campaign.
Note: If you choose a previous campaign or saved template a copy is made. Your original template will remain unchanged.
Step 6:
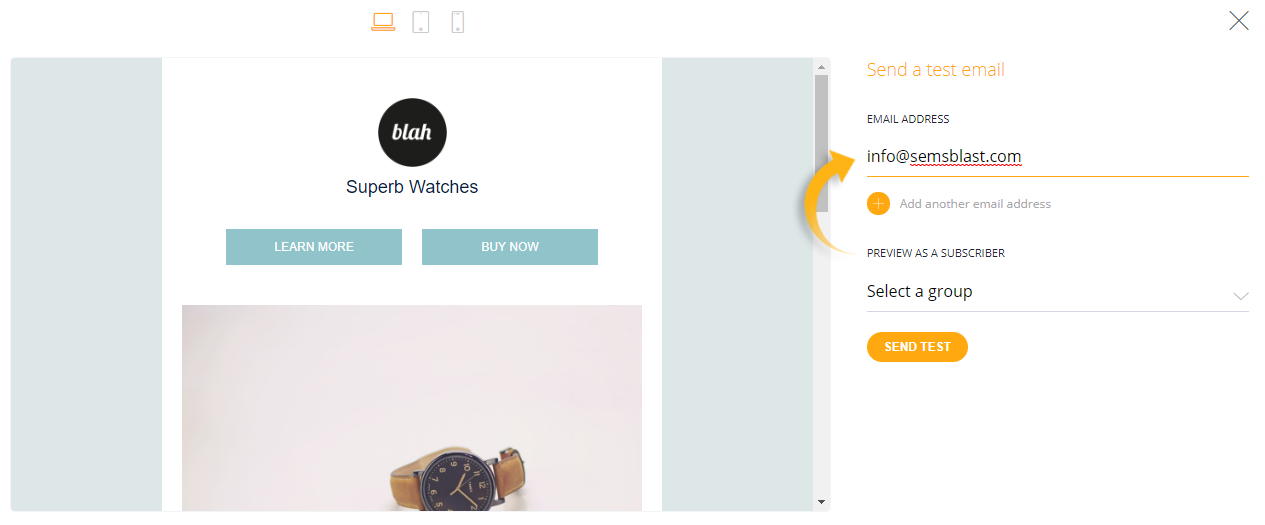
Create your template to be sent through this campaign. Here's a handy guide on editing templates.
On this page you will be able to "Send a Test Email" to yourself, and preview what your template will look like as the actual campaign based on the device viewed on...
Step 7:
Once you have finished editing your template you will arrive at the final page of adding a campaign. On this page you can specify the Subject, Sender name and email address the mail comes from. You can also schedule the start time of the campaign.
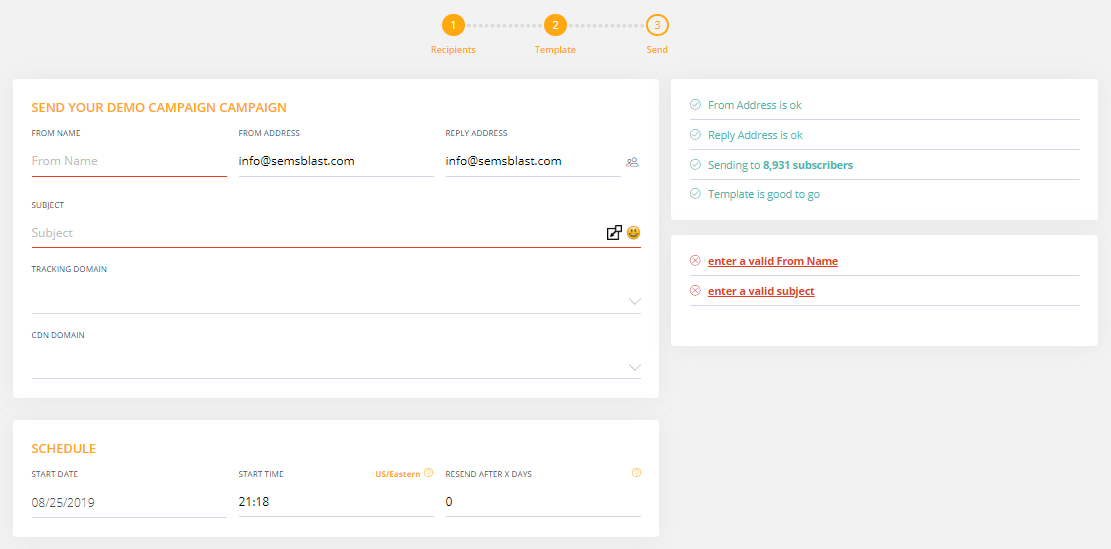
When you have completed all of the required fields, click the "Send Campaign" button towards the bottom of the page.
You've sent your first Campaign!
Congratulations - You have sent your first campaign. Moments after your scheduled start date comes up, your email subscribers will be enjoying your email.